September 14, 2005
Getting Started on the Crayon Box Jacket
I obsess about my knitting. I'm not critical about others' work but I will nitpick my own to death. As a result, I had a very hard time starting this project. There's just too much of the actual design left up to the knitter. I get paralyzed, worrying about whether I'm going to like the finished product or not, especially since I've never knit anything like this before and cannot picture the finished product in my mind. I took a CBJ class and the instructor helped me tremendously to get over the hump. To help others, I thought I'd record the words of wisdom I picked up in the class:
1. Purchase the first set of yarns for the project. See my previous post for some suggestions for this.
2. Pick the size of garment you want to make. This dictates the number of stitches for your squares. I've decided to make my jacket in the large size.
3. Decide the needle size with which you want to start. The pattern calls for a US #10. Start with this size unless you usually knit loose, then drop down a size or two, or knit tight and then go up a size or two. I am typically a very loose knitter and have to drop down one or two sizes. I selected an Addi Turbo in size US #8 to start.
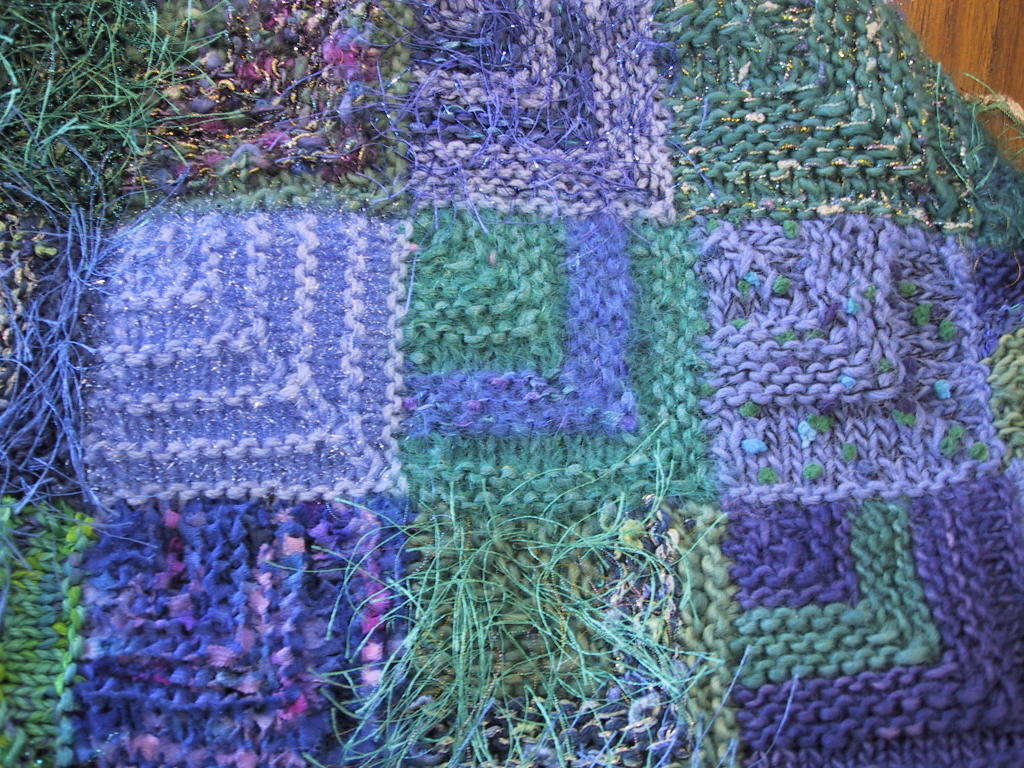
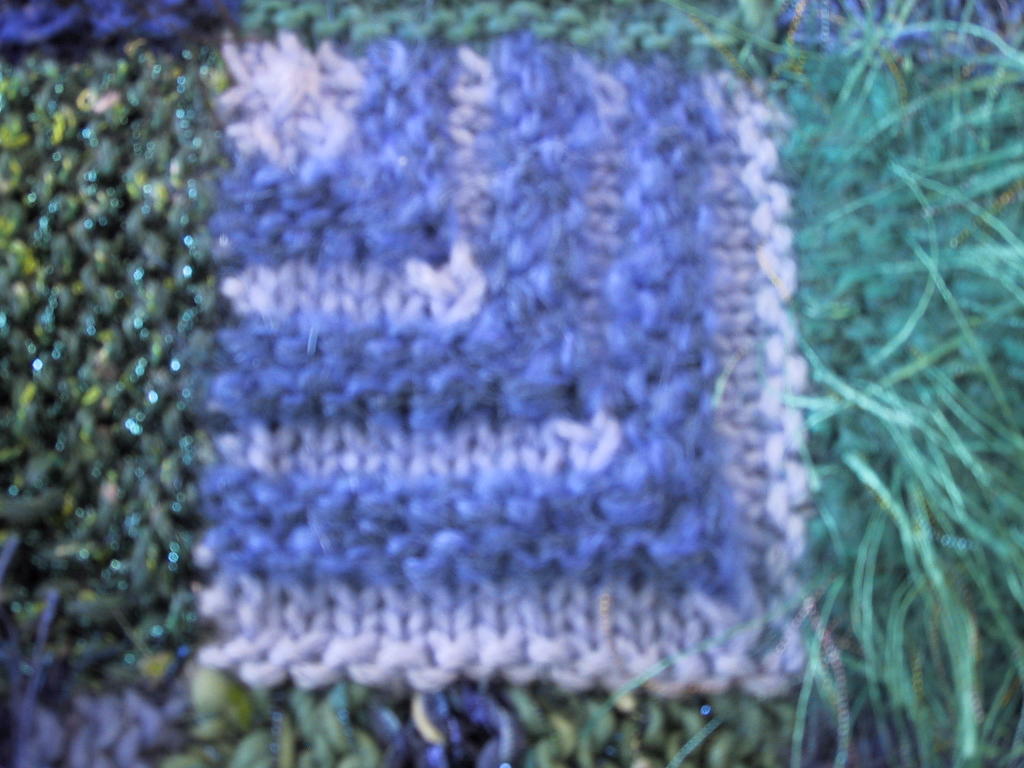
4. Pick one of your base yarns and knit the stockinette square as instructed by the pattern for your first sleeve. Don't obsess about your color selection; just grab one and begin to knit it. This is the most boring square you'll knit and it doesn't deserve a lot of thought. When you've finished this plain, stockinette, single-color square, measure it and compare it to the square sizes listed on the first page of the pattern. If it's close, you've got the right needles, if not, change needles up or down a size but do not frog the first square. I thought my square was a little small but decided to continue on. Since I'm making a Large, it won't hurt to have the sleeves a bit smaller at the wrists.
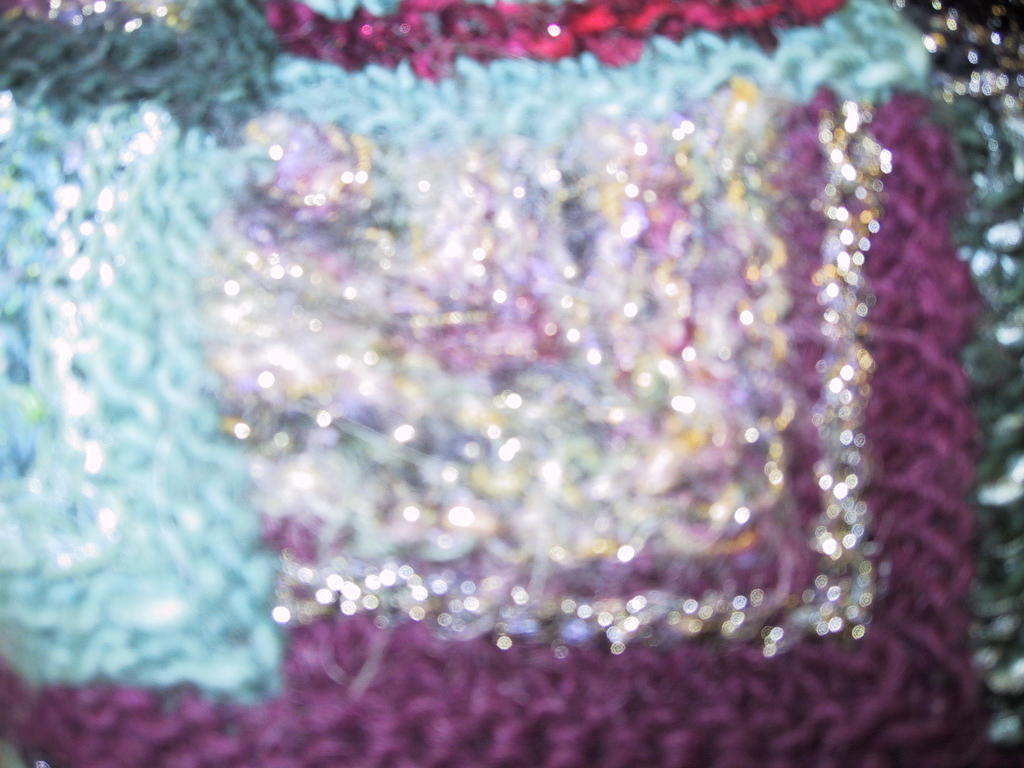
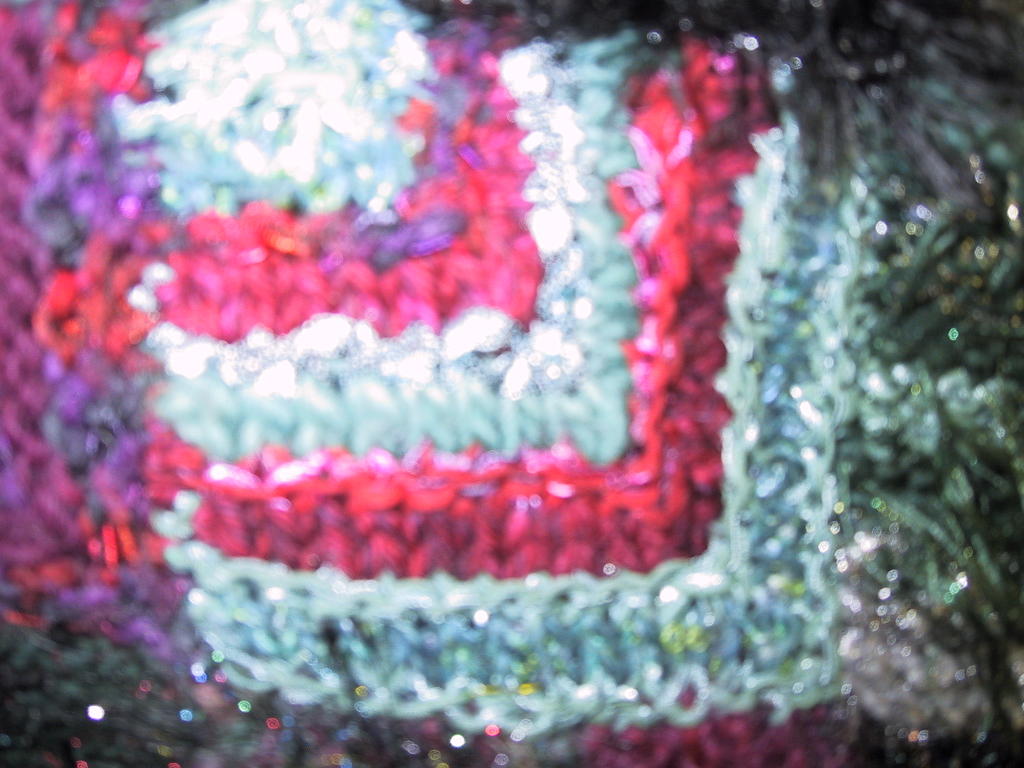
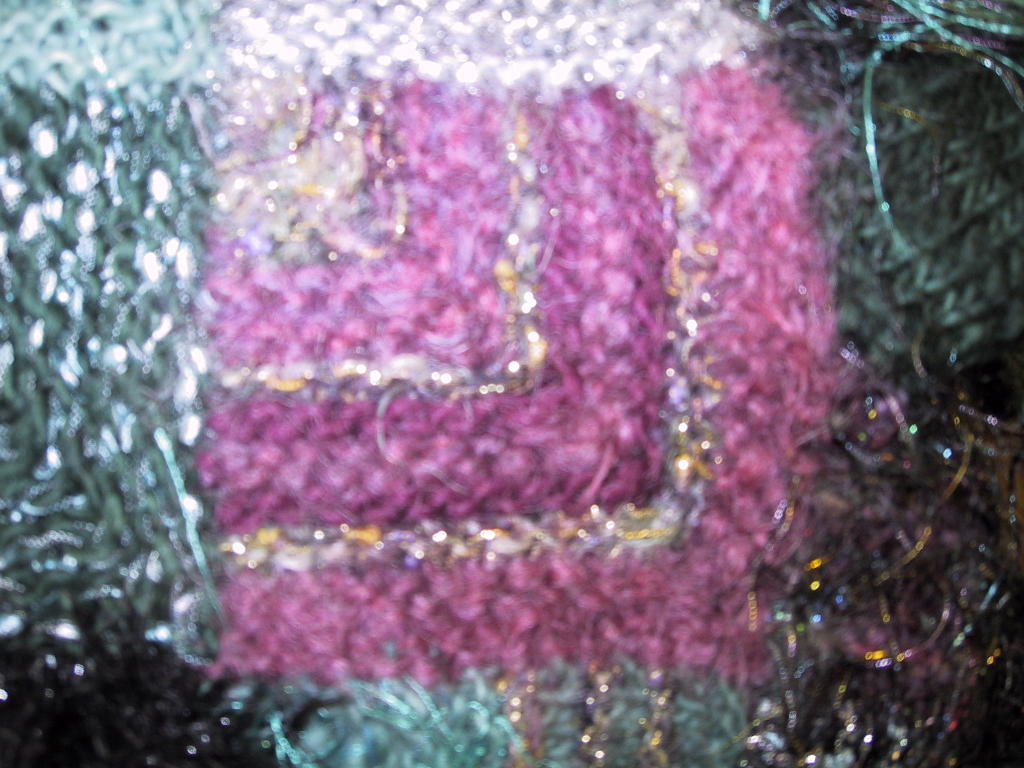
5. Pick another base yarn and knit the second square, the garter square, as instructed in the pattern. If you're adventurous, switch back and forth between this yarn and another base yarn every garter ridge or two (I wasn't adventurous and just knit the square with a variegated base yarn). If you are going to knit the square a single color, you should select a different color or color value than the first square for this square. Otherwise, the two squares will "run together" when you are at a distance and looking at the jacket, making the two squares seem like one large square.
6. When you are picking up and knitting stitches along the edge of a square, try to minimize the amount of needle you poke through the edge of the square, just the tip if possible. This will keep the size of the holes to a minimum.
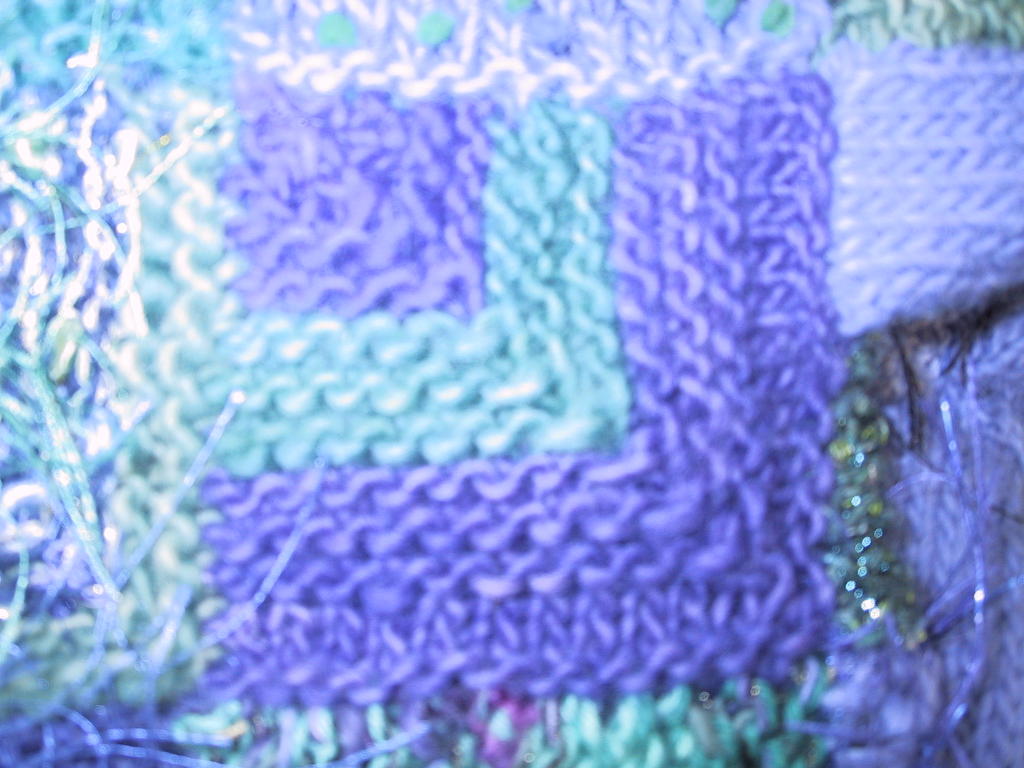
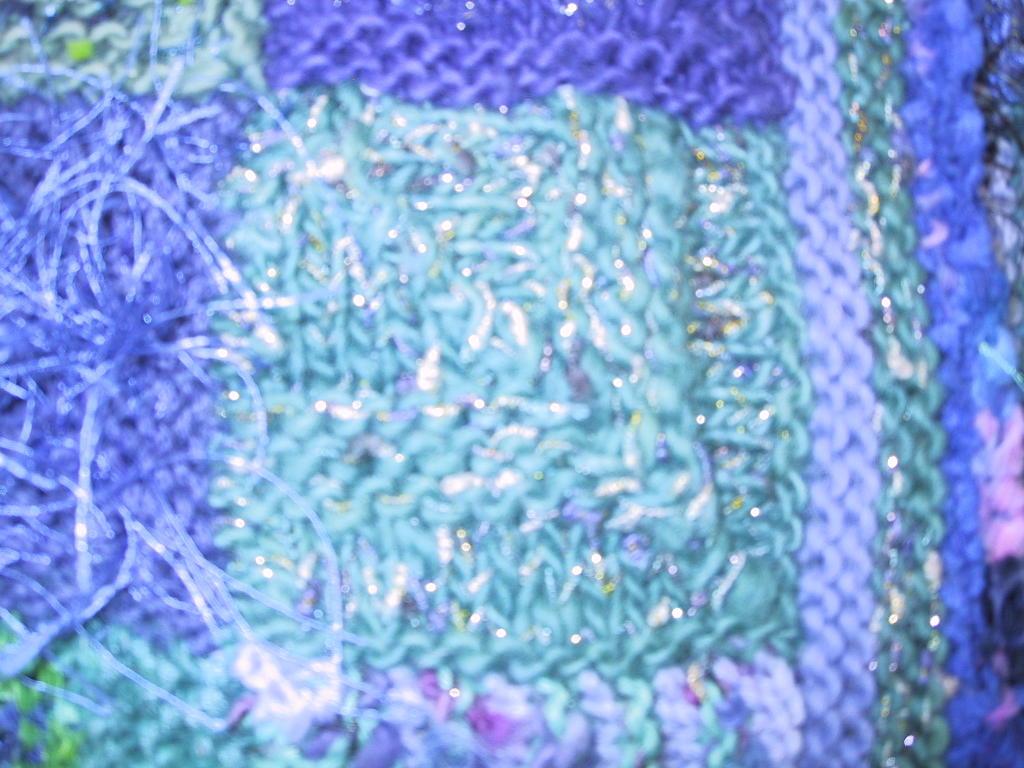
7. For your third square, knit the garter ridge square as instructed in the pattern. Pick a base yarn to use for the first three rows and subsequent stockinette sections and one of your special yarns (or a combination of several) for the garter ridge. This is where the fun begins. I used a chenille yarn for my garter ridge and it pops out so much that the base yarn hardly shows. This gave me lots of ideas of how I could create variations of the garter ridge square (multiples of the garter ridges, for example), using one of the base yarns or a mohair combined with one of the fingering or dk weight yarns for the stockinette and the special yarns for the ridges.
8. When you are selecting yarn for the next square, make sure you can see all of your yarns. This will help you remember what's available. I put all of my yarns in a shallow Rubbermaid tote.
9. If you're not sure what yarn to use for the next square, close your eyes and grab one. If you like how all the yarns look in a pile together, you'll like what ever yarn you pick for the next square.
10. If you finish a square and decide you hate it, do not rip it out. Just make sure to repeat it at least three more times in other locations in your jacket. This one square will get lost in the 70+ of the whole jacket and the one you hate may be another's favorite. Don't obsess about making each square absolutely perfect in your eyes as a stand-alone square.
11. After completing your fourth square, go back and measure the first two squares again. If they're close, keep working with the same needles. If they're off, do not rip out what you've done so far; just change the needle size for the fifth square.
1. Purchase the first set of yarns for the project. See my previous post for some suggestions for this.
2. Pick the size of garment you want to make. This dictates the number of stitches for your squares. I've decided to make my jacket in the large size.
3. Decide the needle size with which you want to start. The pattern calls for a US #10. Start with this size unless you usually knit loose, then drop down a size or two, or knit tight and then go up a size or two. I am typically a very loose knitter and have to drop down one or two sizes. I selected an Addi Turbo in size US #8 to start.
4. Pick one of your base yarns and knit the stockinette square as instructed by the pattern for your first sleeve. Don't obsess about your color selection; just grab one and begin to knit it. This is the most boring square you'll knit and it doesn't deserve a lot of thought. When you've finished this plain, stockinette, single-color square, measure it and compare it to the square sizes listed on the first page of the pattern. If it's close, you've got the right needles, if not, change needles up or down a size but do not frog the first square. I thought my square was a little small but decided to continue on. Since I'm making a Large, it won't hurt to have the sleeves a bit smaller at the wrists.
5. Pick another base yarn and knit the second square, the garter square, as instructed in the pattern. If you're adventurous, switch back and forth between this yarn and another base yarn every garter ridge or two (I wasn't adventurous and just knit the square with a variegated base yarn). If you are going to knit the square a single color, you should select a different color or color value than the first square for this square. Otherwise, the two squares will "run together" when you are at a distance and looking at the jacket, making the two squares seem like one large square.
6. When you are picking up and knitting stitches along the edge of a square, try to minimize the amount of needle you poke through the edge of the square, just the tip if possible. This will keep the size of the holes to a minimum.
7. For your third square, knit the garter ridge square as instructed in the pattern. Pick a base yarn to use for the first three rows and subsequent stockinette sections and one of your special yarns (or a combination of several) for the garter ridge. This is where the fun begins. I used a chenille yarn for my garter ridge and it pops out so much that the base yarn hardly shows. This gave me lots of ideas of how I could create variations of the garter ridge square (multiples of the garter ridges, for example), using one of the base yarns or a mohair combined with one of the fingering or dk weight yarns for the stockinette and the special yarns for the ridges.
8. When you are selecting yarn for the next square, make sure you can see all of your yarns. This will help you remember what's available. I put all of my yarns in a shallow Rubbermaid tote.
9. If you're not sure what yarn to use for the next square, close your eyes and grab one. If you like how all the yarns look in a pile together, you'll like what ever yarn you pick for the next square.
10. If you finish a square and decide you hate it, do not rip it out. Just make sure to repeat it at least three more times in other locations in your jacket. This one square will get lost in the 70+ of the whole jacket and the one you hate may be another's favorite. Don't obsess about making each square absolutely perfect in your eyes as a stand-alone square.
11. After completing your fourth square, go back and measure the first two squares again. If they're close, keep working with the same needles. If they're off, do not rip out what you've done so far; just change the needle size for the fifth square.
![]()